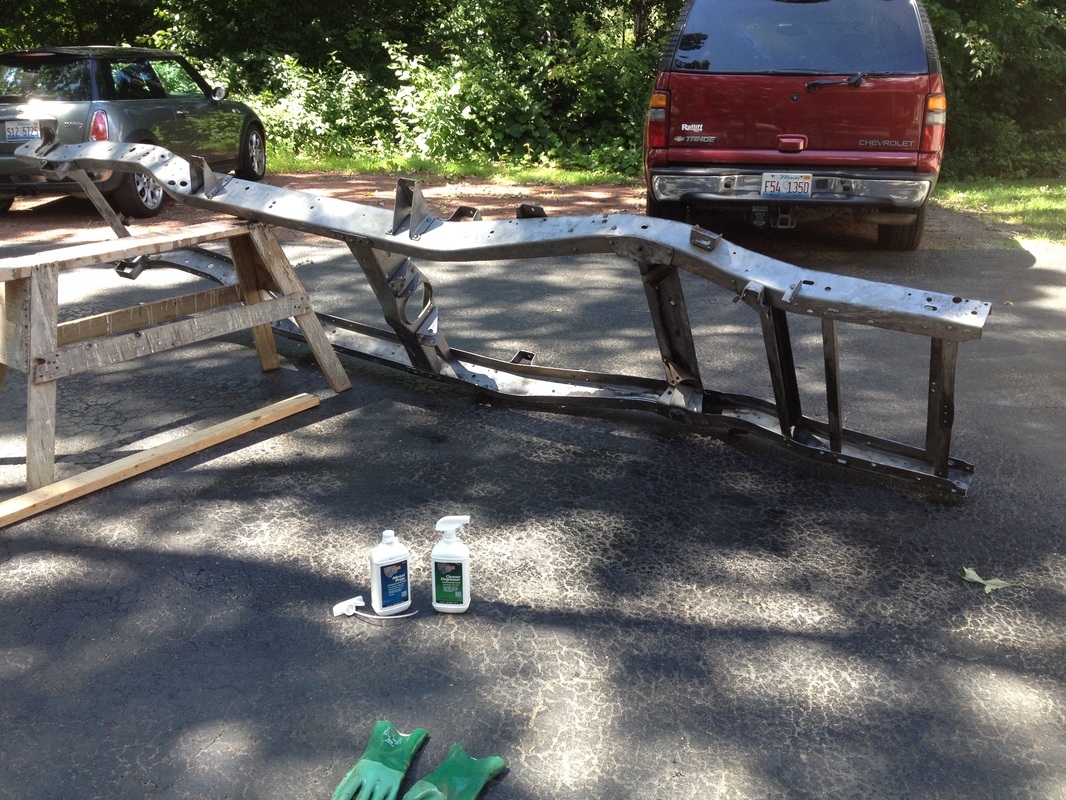
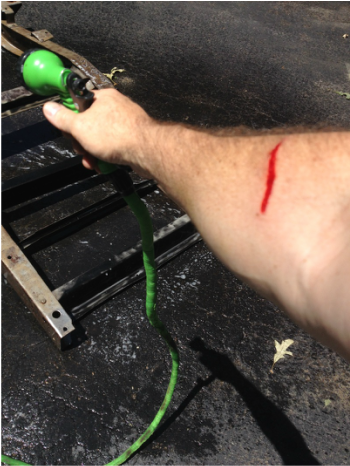
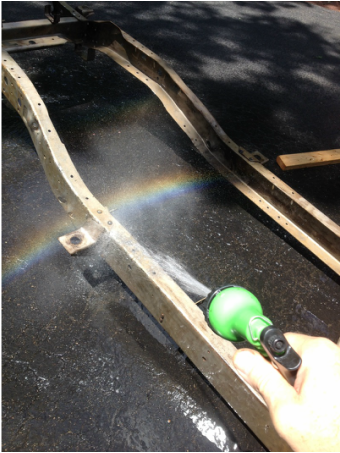
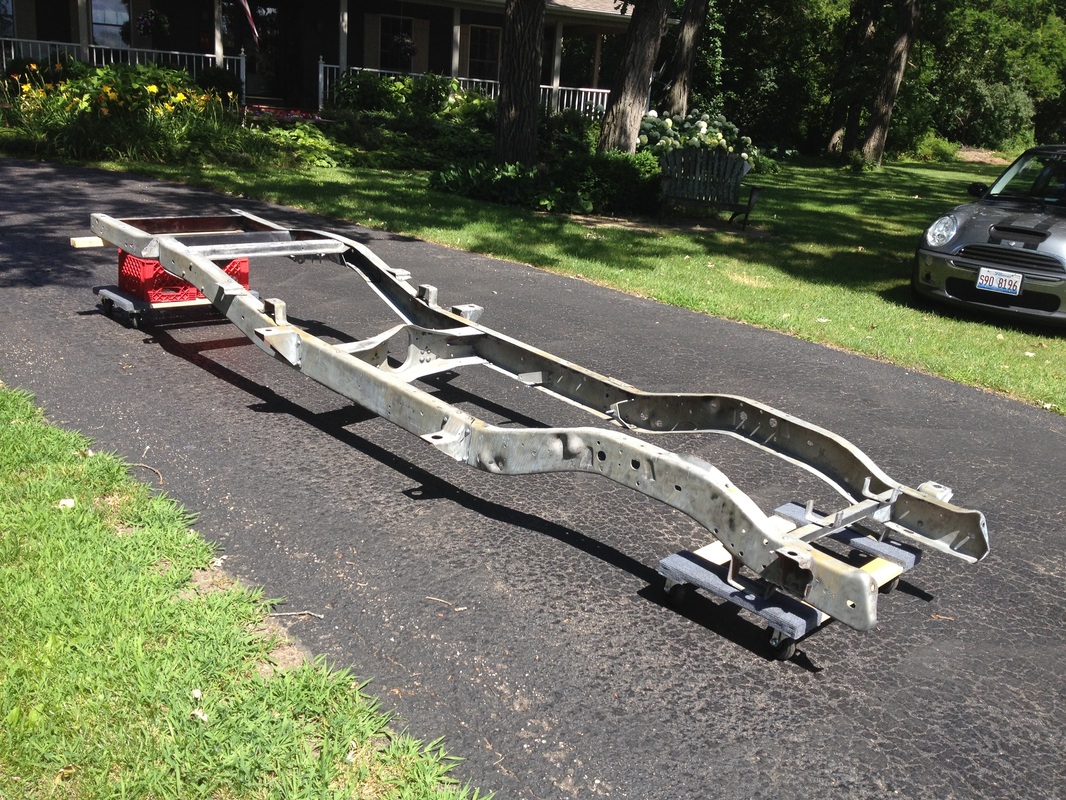
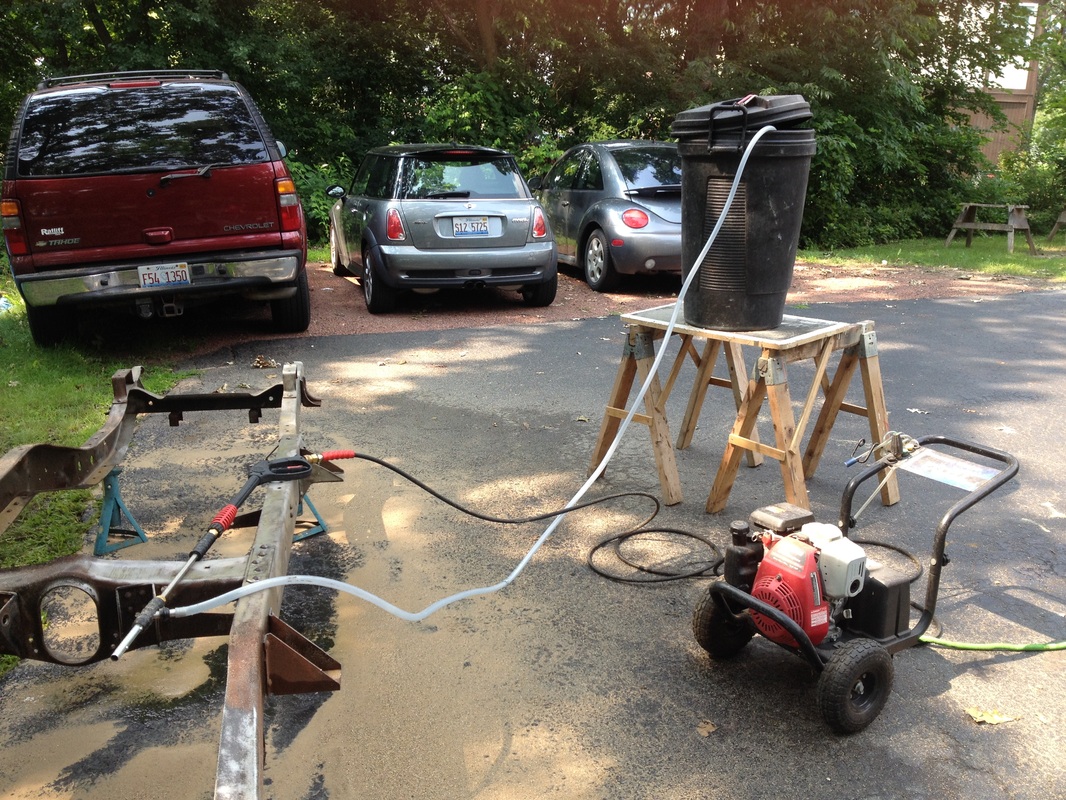
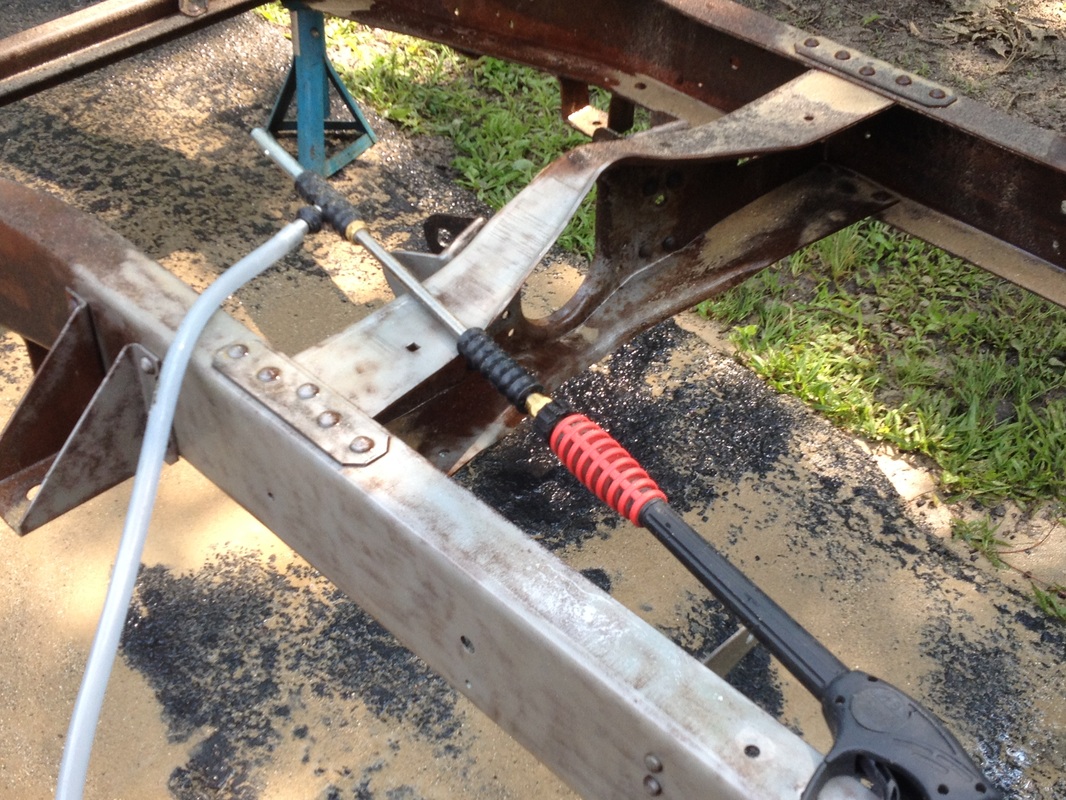
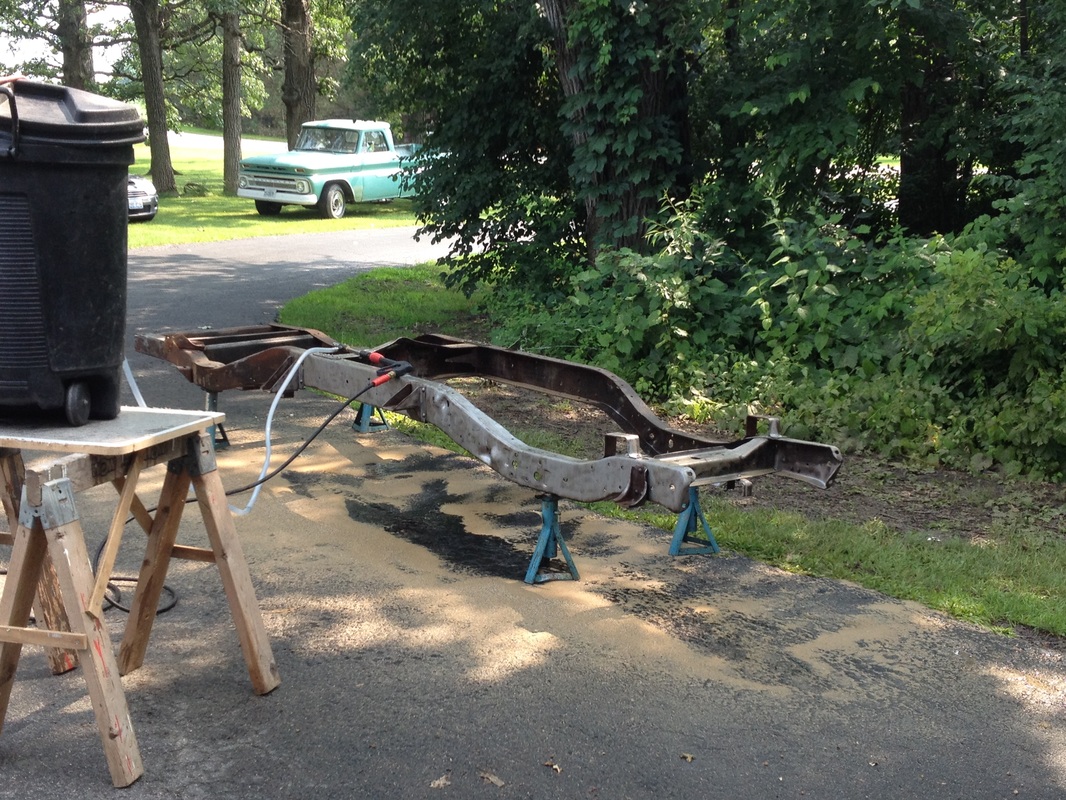
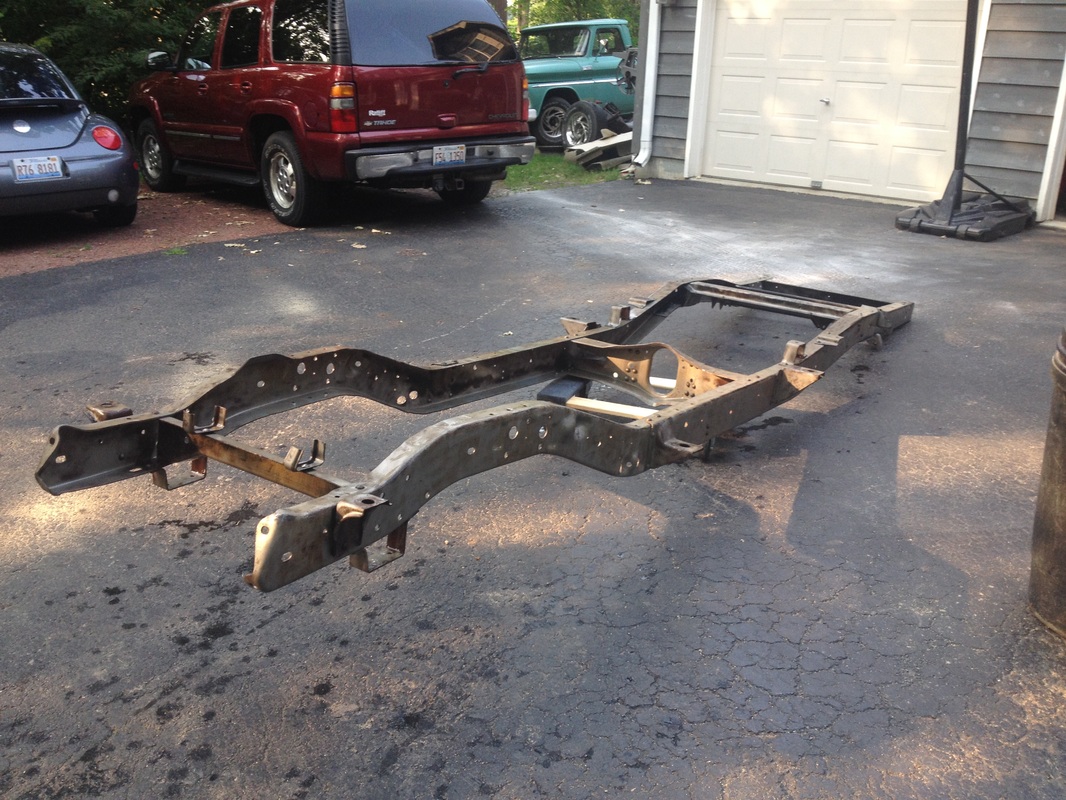
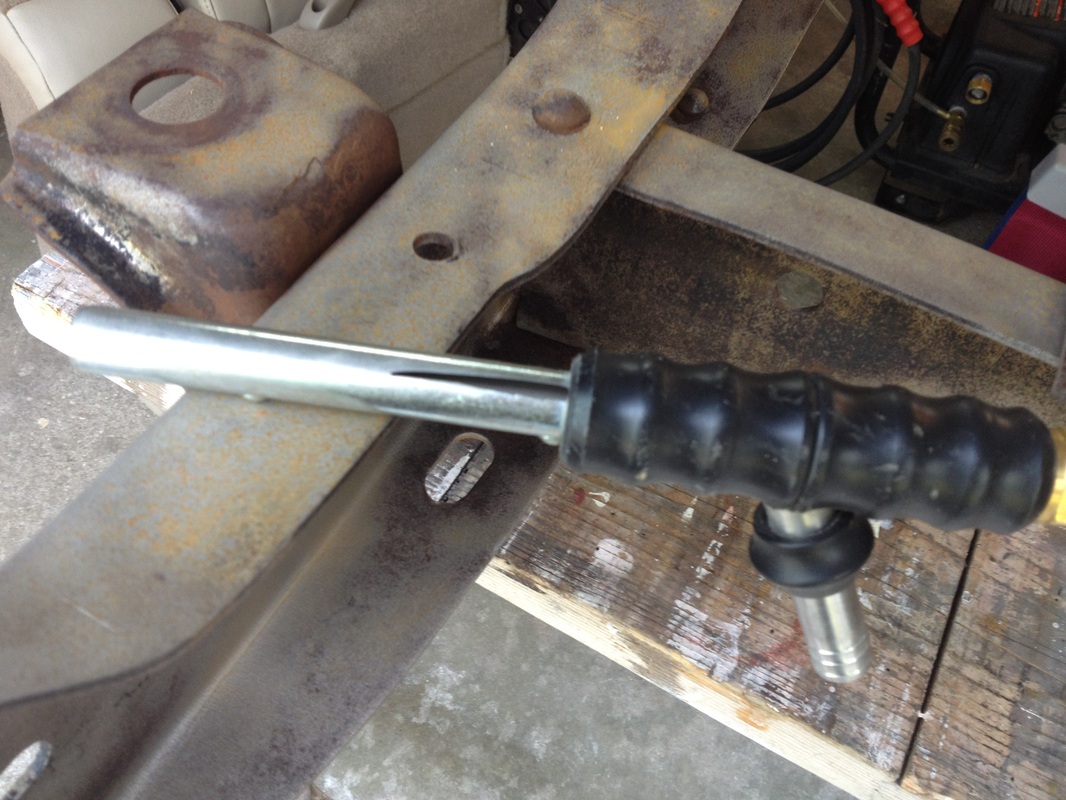
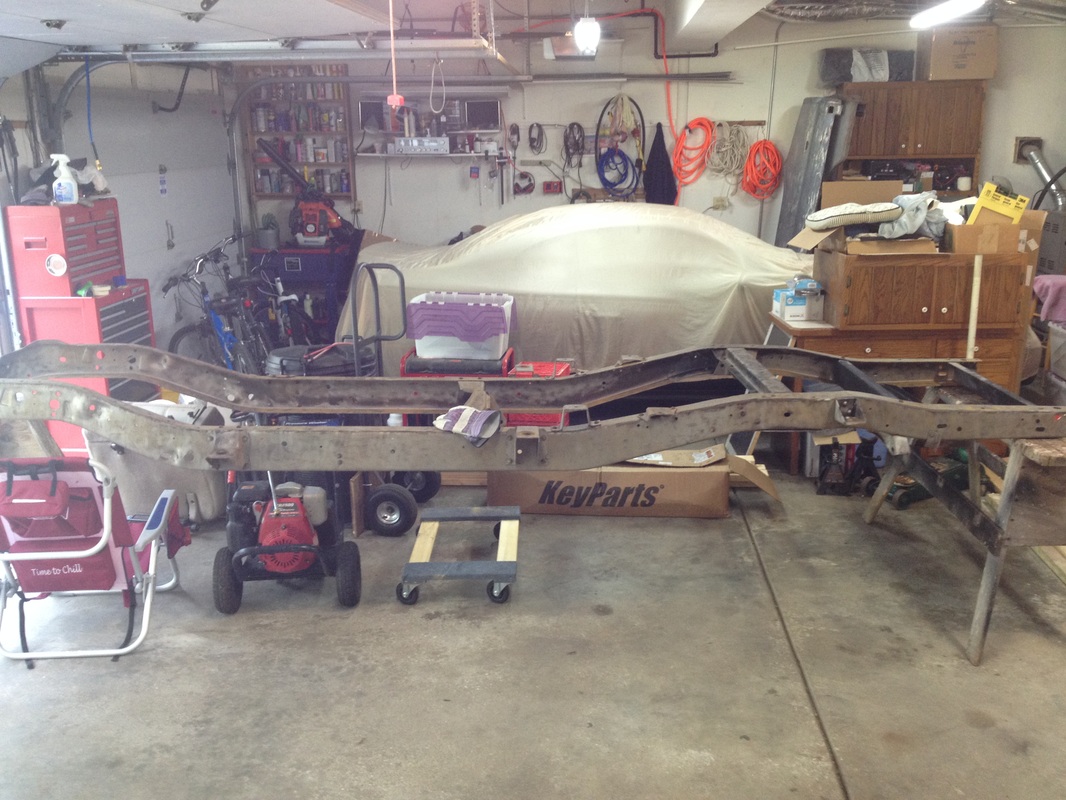
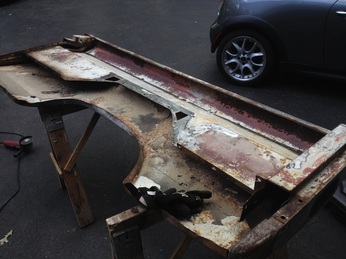
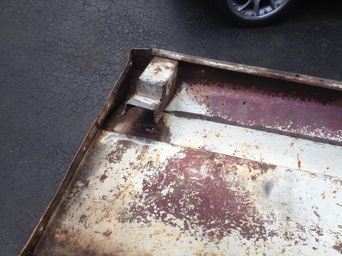
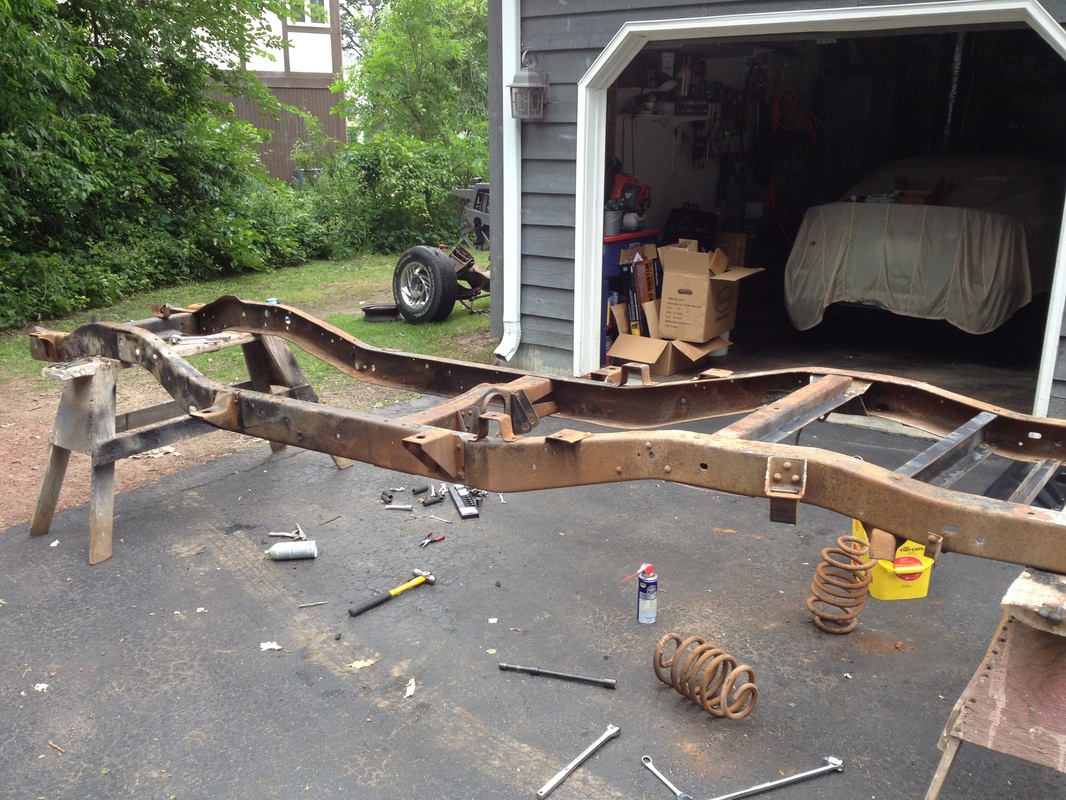
POR15 requires Cleaning/Degreasing and then Metal Prep before application. So I took some time on this hot sunny day to do just that. First had to pull the frame out of the garage and prop it up some way to have access to all the nooks and crannies. Once situated, I mixed up the Cleaner/Degreaser 1 part cleaner to 5 parts water and used a spray bottle to apply it to the frame. Once soaked, I allowed it to sit a while and then sprayed it off with the garden hose. On two other occasions this frame has tried to kill me and today was no different. While attempting to flip it over to get to the underside, I lost my handle on it and it began to fall down on me... as I struggled to push it in a direction that did not include my feet and legs, the weight of this thing brought it down right on my right arm and as it slid toward the ground, the shift bracket decided to take a bite of flesh out of me. At first I thought my arm had a huge gash in it... but then I realized it was just a 2 inch strip of skin that was taken. Didn't really hurt... just a little sting, but it looked bad. After application and rinsing of the degreaser, I next sprayed on the Metal Prep. This stuff is actually some kind of acid that etches the metal to make the POR15 stick better. I wore rubber gloves and safety goggles while applying it. It was really fun to see the Prep make the surface rust disappear and make the metal look almost new again. I guess I really like restoring things... I get a kick out of seeing things resurrected. After the Metal Prep did it's thing I again rinsed it all down and as I was doing that, God reminded me that He would never again destroy the earth with a flood (see the rainbow?). Then I hit the frame with compressed air to more quickly remove the water and hopefully not allow new surface rust to appear too quickly. Lastly, I set the frame out in the sun to dry. It needs to be bone dry for the POR15. So, I will give it a day to dry completely. Maybe do the POR15 tomorrow. |
1 Comment
Two days of sandblasting my frame has me too worn out to go to the next step. So after all the clean-up, rinsing the frame and the entire driveway of sand, I've got a reasonably clean chassis that is ready for prep and painting of POR15. The frame is heavy and I found a movers dolly made moving it around a lot easier.
Been a while since I worked on the truck. Finally was able to begin disassembly of my new short frame. I wanted to get it down to just the basic frame, then clean up and paint it. It was such an amazing thing to be taking off bolts from a vehicle that was assembled in 1964 and yet only one bolt snapped on me. Incredible! This thing MUST be from Arizona as I was told. The short frame included the front suspension too, so I needed to remove that. I just recently bought a new extra long breaker bar and it made quick work of loosening up the big bolts holding things on the frame - the right tool for the job as they say. Up to this point the included front suspension allowed me to roll the frame around like a wheel barrow.... so that will be missed... but I was able to slide a 2-wheel cart under the front of the frame and that worked too! That frame is pretty heavy and it's right about at the limit of what I want to be lifting by myself, but sometimes with no one else around, I figure out a way to do things unassisted. Here's the bare frame... with the front end removed, the rear coils, and all fuel and brake lines and any other clips, etc. taken away as well. Now, what is the best way to clean this up? My local sandblasting company told me it would be $500 to blast it! No way am I going to do that. I need to find a more economical method... Going to look into a pressure-washer sandblasting attachment as well as some grinding/cleaning disks for my angle-grinder.... Decided to try out my new MIG welding equipment too. My truck is going to need some patching up and I knew that would require some welding, so I bought a MIG. I've never really welded much before, but have owned an acetylene torch for a long time and use it occasionally, but this MIG should allow me to do a lot more. It was a blast to experiment with.. and I am looking forward to tacking in some patch panels! That's one of my short bed sides under the tools. As you can see, they are quite the project in themselves!
|
ChevyEddieA guy just having fun fiddlin' in his garage Archives
May 2016
Categories |